A Bathroom Remodel Checklist is a practical planning template used by homeowners, landlords, property managers, contractors, and designers to organize a bathroom renovation from the first measurement to final cleanup. A bathroom remodel often involves more than choosing tile and fixtures. The checklist helps track the project scope, budget, permits, plumbing and electrical items, ventilation, demolition, materials, contractor responsibilities, inspections, and final punch list tasks. This page provides downloadable Word, PDF, and Excel versions of the template, together with practical guidance for completing and using the document in the United States. The Word version is useful for editing the checklist to match a specific project, the PDF version is useful for printing and sharing, and the Excel version is helpful for tracking quantities, costs, dates, suppliers, and completion status. Because bathroom remodeling may involve local building codes, licensed trades, lead-safe work, waterproofing, and safety requirements, the checklist should be used as a planning and recordkeeping tool, not as a substitute for professional advice or local permit review.

Download the Bathroom Remodel Checklist Word Template
The Word format is useful when you want to edit the Bathroom Remodel Checklist freely before printing, sharing it with a contractor, signing off on tasks, or adapting it to a specific home, rental unit, budget, or project scope
Download the Bathroom Remodel Checklist PDF Template
The PDF format is useful when you need a fixed-layout version of the checklist for printing, archiving, sharing with a homeowner or contractor, or keeping in a project folder for reference during the remodel.
Download the Bathroom Remodel Checklist Excel Template
The Excel format is useful when you want to manage tables, material lists, contractor quotes, quantities, dollar amounts, dates, delivery schedules, fixture selections, inspection items, and repeatable rows throughout the remodeling process.
How to Complete and Use This Document
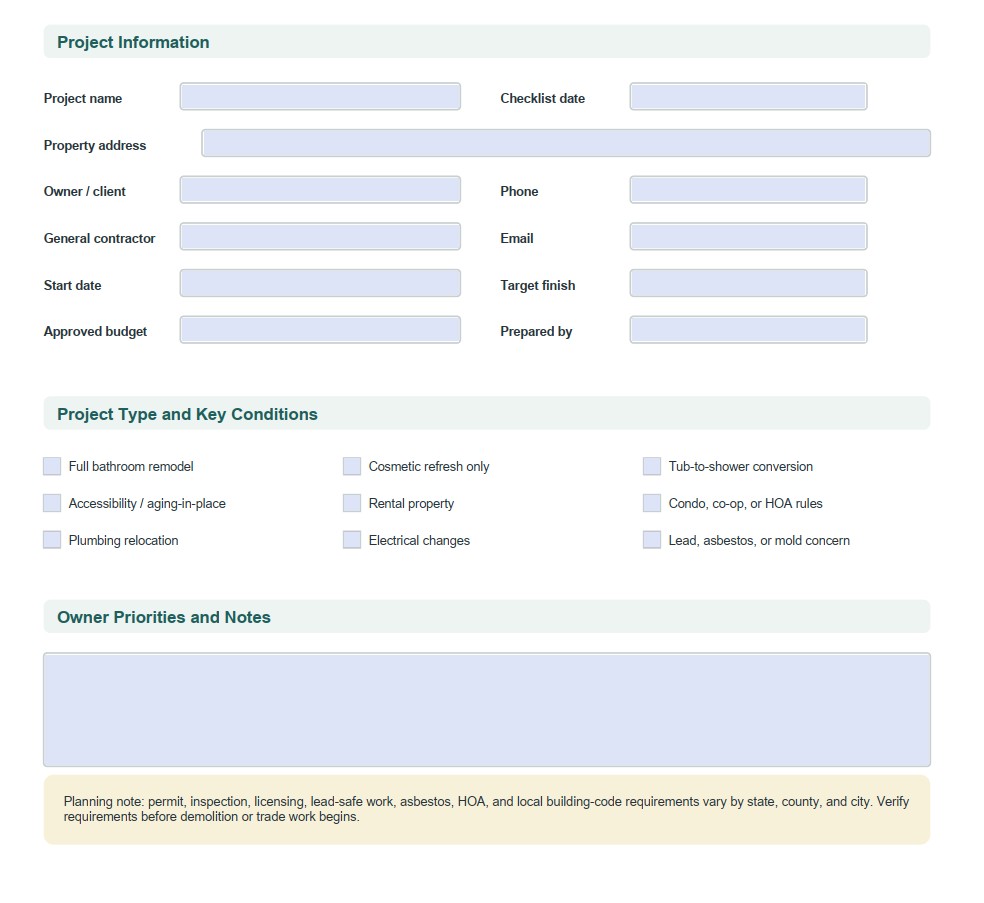
Start the Bathroom Remodel Checklist by entering the basic project information. This should usually include the property address, bathroom location, homeowner or property manager name, contractor name if one has already been selected, project start date, target completion date, and the person responsible for updating the checklist. If the property is a rental, condominium, co-op, or part of a homeowners association, note any owner, tenant, association, or building-management approvals that may be needed before work begins.
Next, define the project scope as precisely as possible. A cosmetic refresh may include painting, replacing hardware, changing a vanity, or updating lighting. A larger remodel may involve moving plumbing lines, replacing a bathtub with a shower, adding outlets, changing walls, modifying ventilation, installing new flooring, waterproofing a shower area, or improving accessibility. The checklist should separate “must-have” work from optional upgrades so that budget decisions are easier if costs change. Include measurements for the room, vanity area, shower or tub opening, toilet clearance, door swing, ceiling height, and any built-in storage. Accurate measurements help avoid ordering fixtures, cabinets, mirrors, or glass doors that do not fit.
Use the planning section to record materials, finishes, fixtures, and suppliers. Important fields often include flooring, wall tile, grout, waterproofing system, shower valve, faucet, sink, vanity, countertop, toilet, lighting, exhaust fan, mirror, towel bars, paint, trim, and hardware. For each item, track model numbers, quantities, finish colors, lead times, order dates, delivery dates, and whether the item has been inspected on arrival. Delayed or incorrect materials are a common cause of remodeling problems, so the checklist should confirm that critical items are available before demolition starts.
Before work begins, review whether permits or inspections may be required. In many U.S. jurisdictions, electrical, plumbing, mechanical, structural, or layout changes may require approval from the city, county, or local building department. Requirements vary widely, and cosmetic-only work may be treated differently from work that changes wiring, plumbing, ventilation, framing, or occupancy-related features. Do not assume that a small bathroom remodel is exempt. The checklist should include a place to record permit numbers, inspection dates, inspection results, and the person responsible for scheduling each inspection.
Safety and code-related items should be handled carefully. Bathrooms involve water, electricity, ventilation, and slip hazards, so the checklist should prompt review of GFCI protection, suitable lighting, exhaust ventilation, moisture-resistant materials, proper waterproofing, safe flooring, and secure installation of heavy fixtures or wall-mounted items. If the home was built before 1978 and painted surfaces will be disturbed, lead-safe renovation rules may apply to paid contractors. Older homes may also contain asbestos-containing materials in certain flooring, adhesives, insulation, or wall products. When hazardous materials are suspected, testing and qualified professional help are safer than guessing.
If contractors are involved, use the checklist alongside a written contract, estimate, or scope of work. Record contractor license information where applicable, insurance details, payment milestones, change orders, warranties, and who is responsible for permits, debris removal, product ordering, and final cleanup. Do not rely only on verbal promises. Any change to layout, materials, labor, price, or timeline should be written down and approved before the work proceeds. For higher-value projects, complicated plumbing or electrical changes, structural work, insurance claims, accessibility modifications, or disputes, it may be appropriate to consult a qualified contractor, architect, building official, attorney, or other licensed professional.
During the remodel, update the checklist daily or at each major milestone. Track demolition, rough plumbing, rough electrical, ventilation work, wall repair, waterproofing, tile installation, fixture installation, caulking, paint, inspections, and final punch-list items. Take photos before walls are closed, especially of plumbing, wiring, blocking for grab bars, waterproofing layers, and hidden repairs. Keep receipts, permits, inspection records, warranties, manuals, contractor invoices, and signed change orders with the completed checklist. Before final payment, confirm that all fixtures work properly, drains flow correctly, fans exhaust as intended, surfaces are sealed, leaks are not visible, and all agreed work has been completed.