
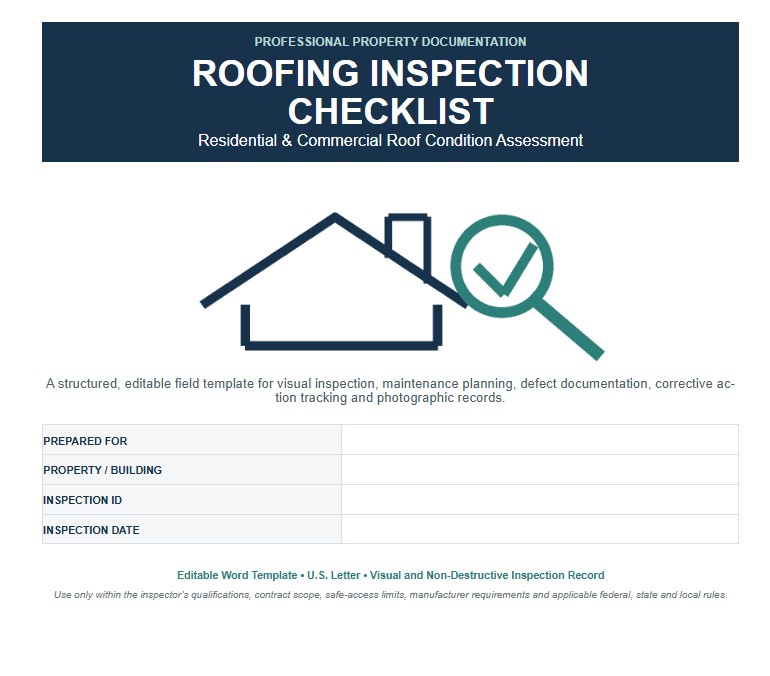
A Roofing Inspection Checklist provides a structured way to document the condition of a residential, commercial, or industrial roof. Property owners, facility managers, roofing contractors, maintenance technicians, home inspectors, and real estate professionals can use it to identify visible defects, record maintenance needs, prioritize repairs, and create a traceable inspection history. A thorough checklist may cover roofing materials, flashing, penetrations, drainage systems, roof edges, structural concerns, interior moisture evidence, safety hazards, photographs, and recommended corrective actions. This page provides downloadable Word, PDF, and Excel versions of the Roofing Inspection Checklist, together with practical guidance for completing and using the document. The Word version can be customized for a particular property or company, the PDF version offers a consistent layout for printing and recordkeeping, and the Excel version is useful for tracking findings, repair priorities, costs, responsible parties, and follow-up dates across multiple inspections or buildings.
Download the Roofing Inspection Checklist Word Template
The Word format is useful when you need to edit the checklist freely before printing, sharing, signing, or adapting it to a specific roof system, property type, inspection procedure, or company policy.

Download the Roofing Inspection Checklist PDF Template
The PDF format is suitable for printing, archiving, emailing, or using a fixed-layout version of the checklist during an on-site inspection. It can also help maintain a consistent inspection format across different properties or technicians.
Download the Roofing Inspection Checklist Excel Template
The Excel format is useful for recording repeatable inspection rows, dates, roof areas, defect categories, repair priorities, estimated dollar amounts, assigned contractors, completion deadlines, and follow-up results. It is especially practical for facilities with multiple roofs or buildings.
How to Complete and Use This Document
Begin by entering enough identification information to connect the checklist to the correct property and roof area. Include the property address, building name or identification number, owner or responsible department, inspection date, inspector’s name, and the reason for the inspection. The reason might be routine preventive maintenance, a real estate evaluation, suspected leakage, storm damage, a warranty review, or verification after repair work. For buildings with several roof sections, identify each section by level, elevation, wing, grid, or another consistent location reference.
Record the roof system before documenting its condition. Relevant details may include whether the roof is steep-slope or low-slope, the approximate installation date, roofing material, number of layers when known, manufacturer information, warranty details, drainage design, and previous repair history. Common materials include asphalt shingles, standing-seam or exposed-fastener metal panels, clay or concrete tile, wood shakes, built-up roofing, modified bitumen, and single-ply membranes. The inspection criteria should be customized because defects that are significant for one system may not apply to another.
Document the weather and surface conditions at the time of inspection. Rain, frost, snow, excessive heat, high winds, standing water, or wet roofing materials can limit access and affect what can be observed safely. The checklist should never be treated as permission for an untrained person to climb onto a roof. When access presents a fall hazard, when the roof is steep, fragile, wet, damaged, or difficult to reach, the assessment should be performed from a safe location or assigned to a qualified roofing professional. Employers and contractors must follow applicable federal OSHA requirements as well as any state-plan, site-specific, and company safety procedures.
Inspect and describe the condition of the primary roof covering. For shingles, note missing, cracked, curled, lifted, loose, blistered, or heavily worn units, as well as exposed fasteners and excessive granule loss. For membrane roofs, check for punctures, open seams, blisters, wrinkles, shrinkage, damaged patches, and deterioration around transitions. Metal roofs may require attention to corrosion, loose fasteners, separated seams, damaged panels, failed washers, and movement at joints. Tile and wood systems should be checked for broken, displaced, deteriorated, or missing components.
Evaluate flashing and transitions carefully because water entry frequently develops around changes in plane and roof penetrations. Record the condition of flashing at walls, valleys, chimneys, skylights, vents, plumbing stacks, curbs, parapets, expansion joints, roof edges, and mechanical equipment. Note cracked sealant, open joints, loose counterflashing, exposed openings, corrosion, or previous repairs that appear temporary or unsuccessful.
Review the drainage system for debris, blockages, damaged gutters, loose downspouts, clogged drains, inadequate slope, and evidence of ponding water. Record leaves, branches, construction materials, abandoned equipment, or other objects that may restrict drainage or damage the roof surface. On commercial roofs, also examine drain strainers, scuppers, overflow provisions, walkway pads, equipment supports, and areas affected by regular service traffic.
Where accessible, inspect the attic, ceiling, walls, insulation, and roof deck from inside the building. Stains, damp insulation, mold-like growth, peeling finishes, rust, daylight through openings, or damaged decking may indicate moisture entry or structural problems. Visible sagging, movement, cracked structural members, widespread deterioration, or active leakage should be reported promptly and evaluated by an appropriately qualified contractor, structural engineer, or other professional.
Describe each finding objectively and identify its exact location. Avoid relying only on terms such as “poor condition.” State what was observed, its approximate size or extent, whether active moisture was present, and whether immediate action appears necessary. Attach dated photographs and reference each image to the corresponding checklist entry. Classify recommended actions by priority, such as immediate safety response, urgent leak prevention, scheduled repair, monitoring, or routine maintenance. Include the responsible person, target completion date, contractor information, estimated cost when available, and the date on which corrective work was verified.
Complete the inspector, reviewer, or approval fields required by the organization. A signature confirms who prepared or reviewed the record, but it does not automatically make the checklist a roof certification, code-compliance report, engineering opinion, insurance assessment, warranty approval, or complete home inspection. Licensing rules, inspection standards, building codes, permit requirements, insurance procedures, and disclosure obligations may differ by state, county, and city. Before using the checklist for a transaction, claim, regulatory purpose, warranty matter, or formal safety determination, confirm the applicable requirements with the relevant authority, insurer, manufacturer, attorney, engineer, licensed inspector, or qualified roofing contractor.