
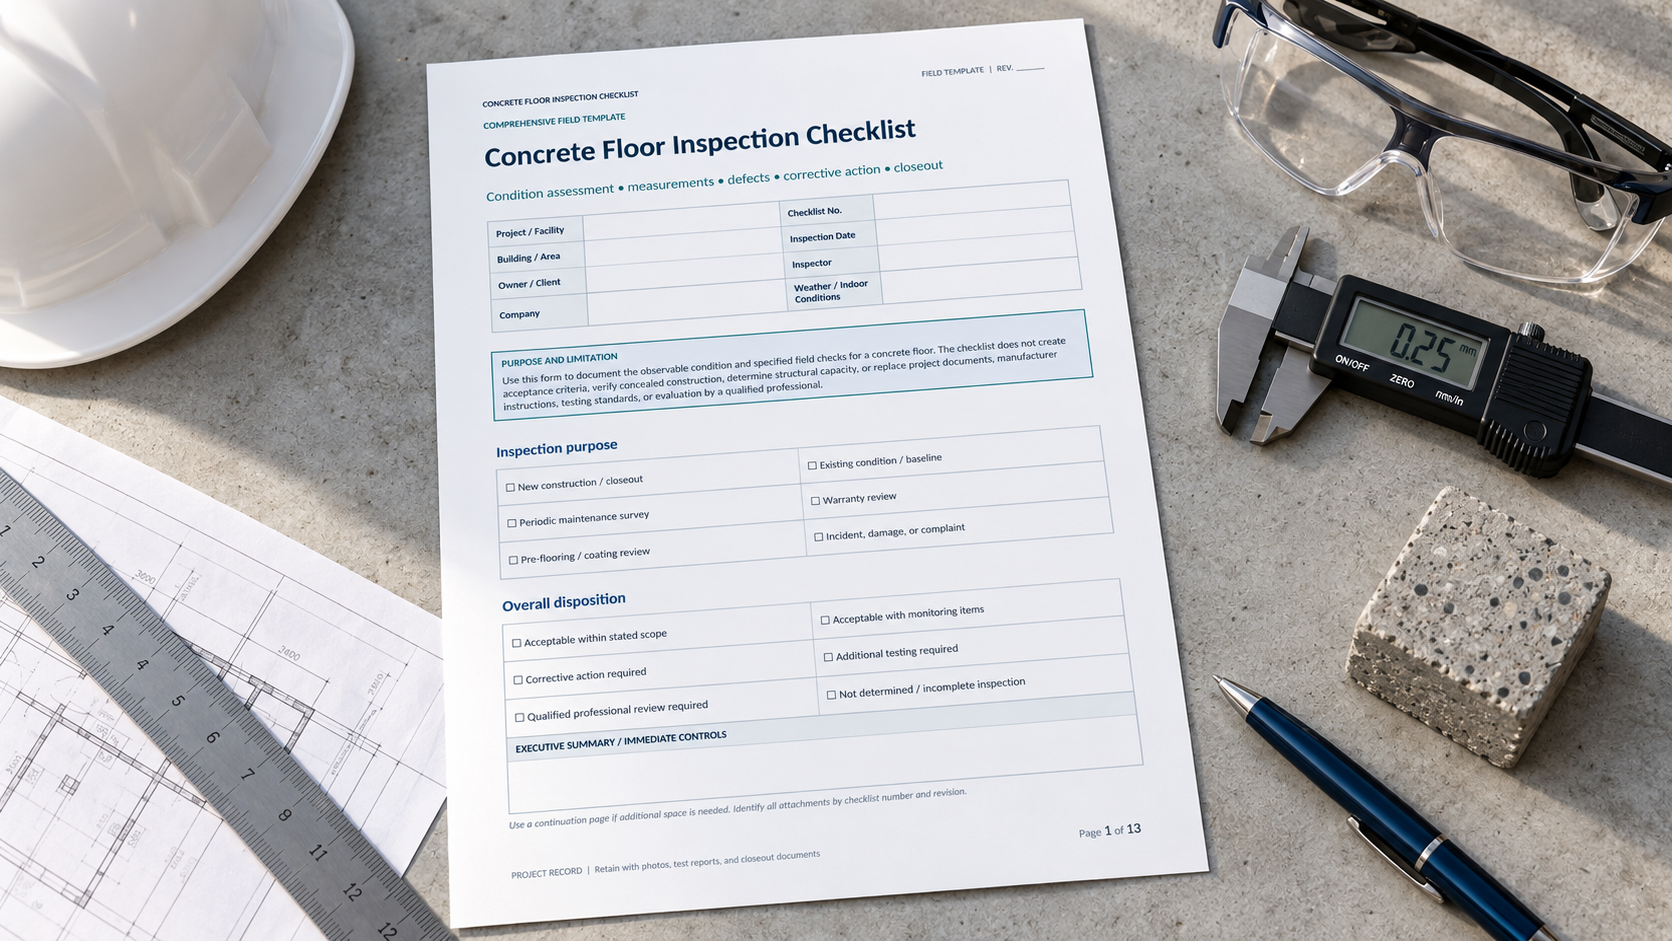
A concrete floor inspection checklist provides a consistent way to document the condition, workmanship, safety, and serviceability of a concrete slab. Contractors, construction managers, facility personnel, property owners, engineers, and inspectors can use it when reviewing newly placed floors, conducting project closeout inspections, investigating reported damage, or monitoring an existing warehouse, garage, commercial, or industrial floor. A well-completed checklist identifies the inspected area, records visible defects and measurements, documents photographs, and assigns corrective actions for conditions such as cracking, spalling, uneven joints, surface wear, moisture, or poor drainage. This page provides downloadable Word, PDF, and Excel versions of the concrete floor inspection checklist, together with practical guidance for completing and using the document. The Word version is suitable for customization, the PDF offers a consistent printable layout, and the Excel workbook helps organize multiple observations, locations, dates, and follow-up items.
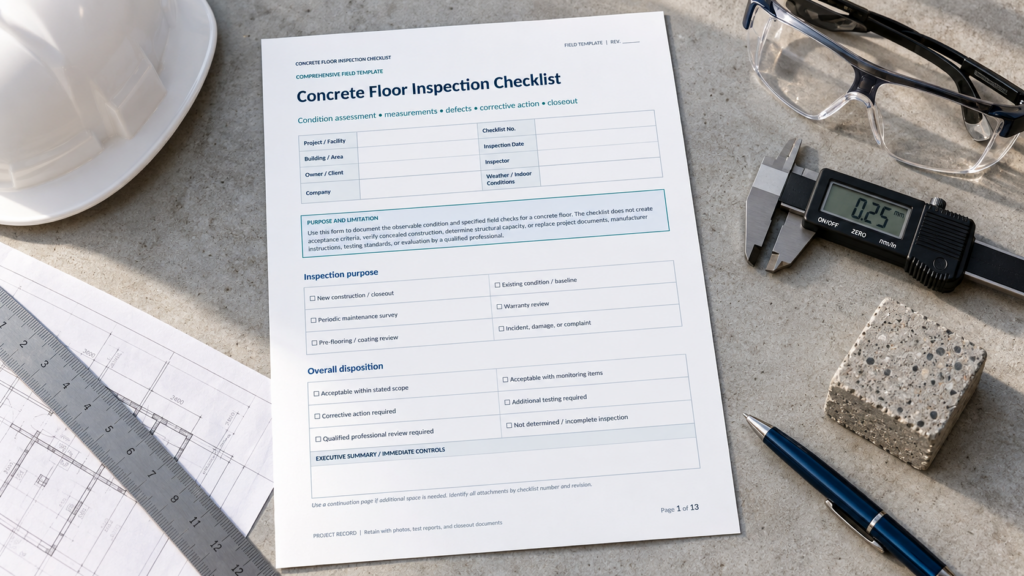
Download the Concrete Floor Inspection Checklist Word Template
The Word template is useful when you need to edit inspection categories, add company branding, incorporate project specifications, or adapt the checklist to a particular building, floor system, or client before printing or sharing it.

Download the Concrete Floor Inspection Checklist PDF Template
The PDF template is convenient for field inspections, printing, archiving, and sharing a fixed-layout record. It can help ensure that inspectors use the same categories and reporting structure during each inspection.
Download the Concrete Floor Inspection Checklist Excel Template
The Excel template is useful for recording repeatable inspection rows, measurements, defect locations, severity ratings, responsible parties, target completion dates, and corrective-action status across multiple floor areas or inspection dates.
How to Complete and Use This Document
Begin by identifying the project or facility, street address, building, room, floor level, slab section, and inspection date. Record the owner, contractor, inspector, and any other participants present. Give each inspected area a clear designation that corresponds with a floor plan, column grid, room number, pour sequence, or marked photograph. This makes later repairs and reinspection findings traceable to the correct location.
State why the inspection is being performed. Common purposes include reviewing a newly constructed slab, documenting conditions before installing flooring or equipment, investigating a complaint, preparing a maintenance plan, or following up on earlier repairs. Identify the documents used as acceptance criteria, such as the construction drawings, project specifications, approved submittals, repair requirements, manufacturer instructions, or company maintenance standards. A checklist should not substitute its own limits for the limits stated in the applicable project documents.
Inspect the floor systematically rather than recording only the most obvious damage. Divide a large slab into manageable zones and note whether each item is acceptable, deficient, not observed, or not applicable. Typical observations include cracking, crazing, spalling, scaling, pop-outs, pitting, dusting, abrasion, exposed aggregate, discoloration, staining, efflorescence, corrosion staining, and exposed reinforcing steel. Also examine control, construction, isolation, and expansion joints for damaged edges, missing or failed sealant, debris, unexpected opening, vertical displacement, or loss of load transfer.
Record signs of curling, settlement, heaving, uneven transitions, depressions, ponding water, inadequate drainage, and trip hazards. Where the floor has a coating, sealer, topping, or floor covering, note peeling, blistering, delamination, wear, loss of adhesion, or moisture-related distress. Check penetrations, equipment bases, drains, doorways, rack areas, and high-traffic routes because defects often develop around concentrated loads or transitions.
Describe each defect with objective information. Record its location, type, dimensions, severity, and extent. For a crack, note its approximate width, length, direction, pattern, and any vertical offset, moisture, staining, or edge deterioration. Use consistent units and suitable measuring tools. Number observations and match them to photographs that include a location reference and scale when practical. Do not describe a slab as passing or failing solely from appearance when the contract requires a defined test.
Floor flatness and floor levelness are different characteristics. If the project specifies FF and FL values, testing and reporting should follow the referenced standard and project requirements, commonly ASTM E1155 for applicable floors. A visual review, straightedge spot check, or informal level reading should not be presented as an ASTM result. Elevated slabs, sloped slabs, defined-traffic floors, and small test areas may require different evaluation criteria. Moisture testing before installation of resilient flooring, coatings, or adhesives should likewise follow the applicable project specification and product manufacturer’s requirements.
For every deficiency, enter a recommended action, priority, responsible person or company, target date, and final status. Possible actions may include monitoring, cleaning, sealing, joint repair, surface preparation, patching, grinding, further testing, or professional evaluation. Avoid prescribing a repair solely from a visual symptom when the underlying cause has not been established. Attach photographs, test reports, marked plans, repair proposals, and reinspection records to the completed checklist.
A routine checklist is not a structural assessment or engineering certification. Promptly refer significant displacement, active or expanding cracks, widespread delamination, exposed or corroding reinforcement, persistent water intrusion, unexpected settlement, or concerns about load capacity to a qualified concrete professional or licensed structural engineer. Follow site safety procedures while inspecting and isolate immediate hazards when authorized. Before treating the checklist as an acceptance, warranty, code-compliance, or safety record, verify the current contract documents and applicable federal, state, county, city, industry, and company requirements. Sign and date the completed record, obtain required approvals, retain the original version, and document completion of corrective work.